How to Plan a Back-to-School Supply Drive Kickoff Event That Actually Gets Your Community Showing Up
The Box in the Corner Nobody Touched
You did everything right. You found a cardboard box, taped a cheerful sign to it that said "Back-to-School Supply Drive — Donate Here!", and set it in the lobby of your community center. You told a few people. You posted once on Facebook. And then you waited.
Three weeks later, the box held four crayons, a single glue stick, and someone's forgotten umbrella.
If that story feels familiar, you're not alone. Passive donation drives — the kind that just sit there hoping people will notice — fail quietly every single year. Meanwhile, thousands of kids in your neighborhood will walk into classrooms this fall without a single notebook to their name. The gap between good intentions and real impact usually comes down to one thing: there was no event.
A kickoff event changes everything. It creates urgency, builds community energy, and gives people a reason to show up, donate, and spread the word. Here's exactly how to plan one that works.
Step 1: Nail Down Your "Why" Before You Plan Anything Else
Before you book a venue or design a flyer, get crystal clear on the purpose and scope of your drive. Ask yourself:
- Who are you collecting for? A specific school? A district? A shelter? A Title I program?
- What items are most needed? Contact the school's guidance counselor or a local nonprofit — they'll give you a real list, not a generic one.
- What's your collection deadline? Work backwards from the first day of school.
For example, if your local elementary school starts August 26th and needs supplies by August 20th, your kickoff event should happen no later than August 1st — giving you three weeks of active collection momentum.
Having a named beneficiary ("We're collecting for 300 students at Lincoln Elementary") is dramatically more motivating than a vague cause. People give more when they can picture exactly who they're helping.
Step 2: Choose a Venue That Matches Your Energy
Your venue sets the tone. A dusty conference room signals "obligation." A park pavilion, a local brewery's patio, or a school gymnasium signals "community celebration."
Great venue options for a supply drive kickoff include:
- A local park with a covered pavilion (free, family-friendly, easy parking)
- A community center gym (great for larger crowds and indoor activities)
- A church or faith community hall (often free and centrally located)
- A local business parking lot (a hardware store or grocery chain may co-sponsor)
One community organizer in Columbus, Ohio partnered with a local Target store. Target donated a table near the entrance for a week leading up to the event and let the group set up a mini kickoff party in their parking lot on a Saturday morning. Result: over 400 items collected in a single weekend.
Step 3: Build a Guest List and Make RSVPs Work For You
Here's where most organizers leave serious impact on the table. They announce the event publicly and hope people come. Instead, treat your kickoff like a real event — with an actual guest list and RSVP process.
Why does this matter? Because when someone RSVPs, they've made a small commitment. That commitment dramatically increases the likelihood they'll actually attend. And when they attend, they bring supplies.
Use a tool like RSVPlinks to create a clean, shareable event invitation with a simple RSVP form. You can track who's coming, send reminders, and even include a suggested donation list right in the invitation. Share the link across your neighborhood Facebook group, your church newsletter, your HOA email list, and your personal contacts. A personalized link people can tap on their phone removes every friction point between "I meant to go" and "I'm actually going."
Pro tip: Ask RSVPs to indicate what supplies they plan to bring. This doubles as a real-time inventory tracker and creates social accountability — once someone says they're bringing 10 folders, they're much more likely to follow through.
Step 4: Design the Event Experience — Not Just the Donation Drop
The biggest mistake first-time organizers make is treating the kickoff as purely transactional: show up, drop off supplies, leave. That's not a community event — that's a chore.
Design an experience that makes people want to stay, share, and come back. Here's a simple but effective event structure:
The Welcome Zone (0–15 minutes)
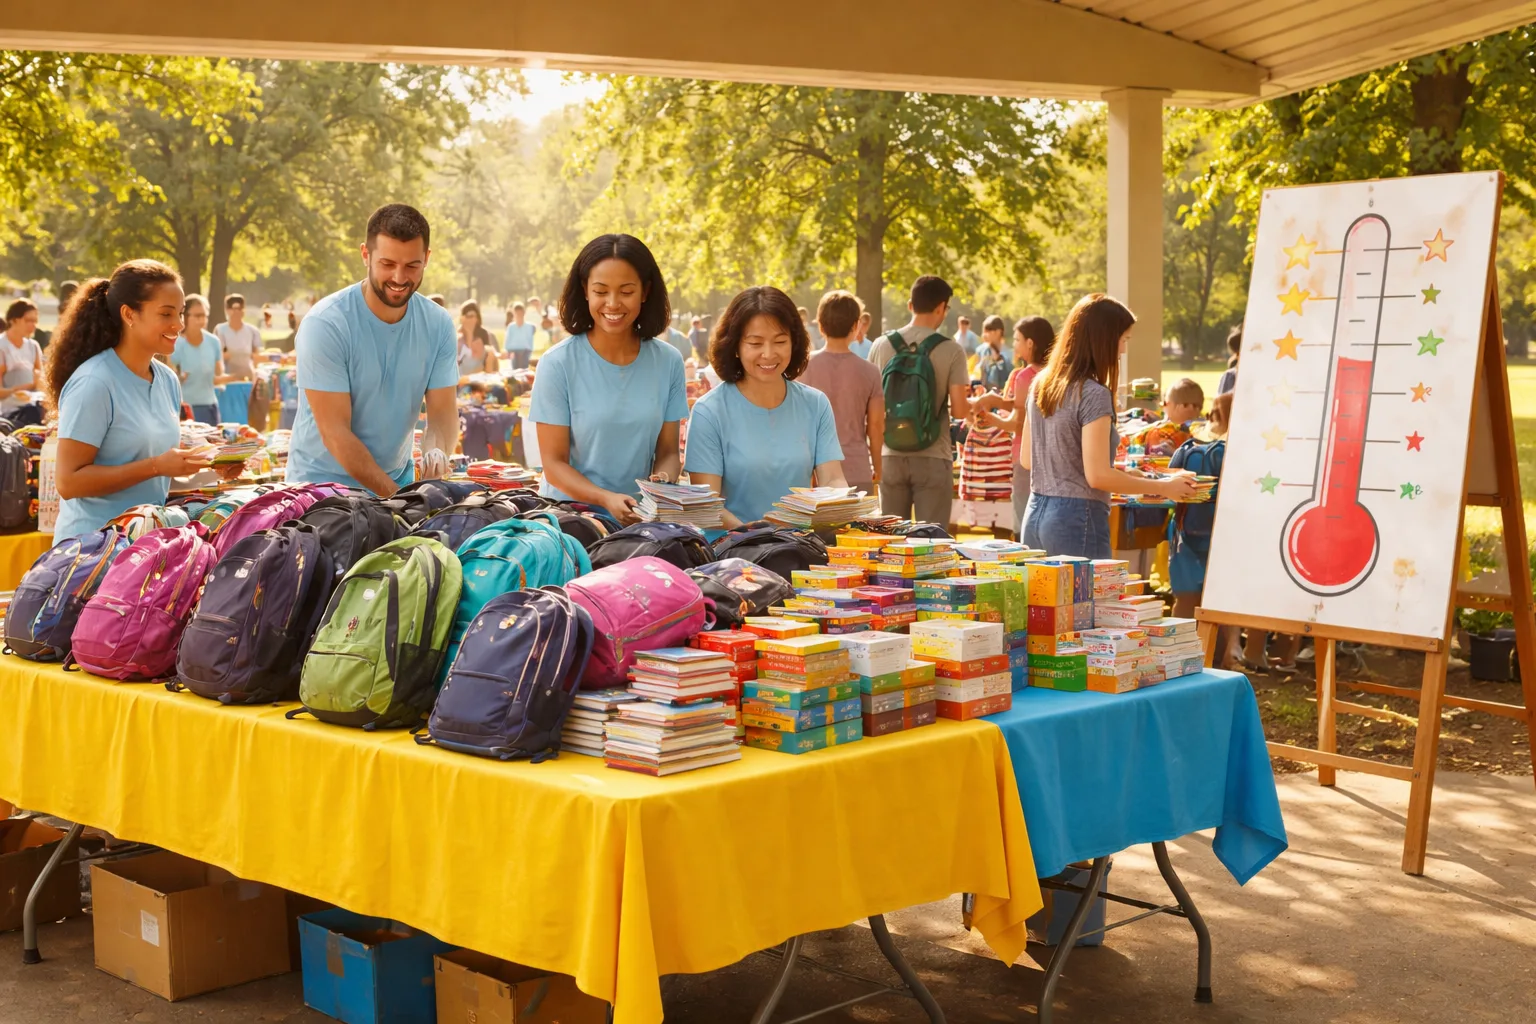
Greet arrivals with music, a sign-in table, and a visible "supply meter" — a big thermometer-style poster showing your goal (say, 500 items) that you update in real time. This gamifies the drive and creates instant excitement when the number climbs.
The Story Moment (15–20 minutes)
Have someone speak for five minutes — a teacher, a parent, or a student — about what these supplies actually mean. Keep it short and specific. "Last year, we had 12 kids who started school without a single pencil" is more powerful than any statistic.
The Activity Zone (ongoing)
Add something fun, especially if families with kids are attending. Face painting, a backpack-decorating station, a raffle for donated gift cards, or a local food truck all give people a reason to linger — and lingering people recruit other donors via social media in real time.
The Call to Action (throughout)
Have volunteers circulate with printed supply lists and QR codes linking to your RSVP/donation page. Make it easy for people who didn't bring supplies to pledge a future drop-off or make a cash donation.
Step 5: Recruit and Brief Your Volunteer Team
Even a small event needs a clear team with clear roles. Flying solo or winging it with whoever shows up creates chaos that attendees can feel.
Assign specific roles at least one week in advance:
- Event lead: Owns the run-of-show and handles surprises
- Welcome table: Checks in guests, hands out supply lists
- Supply sorters: Organize donations as they arrive (this is great for teens doing community service hours)
- Social media captain: Posts live updates, stories, and photos throughout the event
- Floater/runner: Handles whatever comes up
Brief your team the day before with a one-page overview: start time, their role, the event goal, and who to contact if something goes wrong. Five prepared volunteers beat fifteen confused ones every time.
Step 6: Create a Pre-Event Buzz Campaign
Your event doesn't start the day of — it starts the moment you announce it. Build a two-week buzz campaign:
- Week 2 out: Launch the RSVP link. Post in all community groups. Email your list. Ask 5 community connectors (the people everyone knows) to personally share the link.
- Week 1 out: Post a countdown. Share a story from a teacher or family about why this matters. Announce any fun additions (food truck, raffle, etc.).
- Day before: Send a reminder to everyone who RSVPed. Include parking info, the supply list, and a line like: "We're already at 60% of our goal — help us hit 100% tomorrow!"
- Day of: Post a morning "we're live!" update with your location and a real-time supply count.
This drip of communication keeps your event top of mind without being annoying — and each update gives people a new reason to share.
Step 7: Don't Let the Momentum Die After the Event
The kickoff is the beginning, not the end. Within 24 hours of the event:
- Post a thank-you with photos and your final supply count
- Share how many families or students will benefit
- Announce your ongoing drop-off locations and deadline
- Tag donors, volunteers, and sponsors — they'll reshare, extending your reach
Send a personal thank-you message to everyone who RSVPed through your event link. This small gesture builds the kind of community loyalty that means those same people will show up for your next event without needing to be convinced.
Your 3 Next Steps — Starting Today
You don't need a big budget or a committee of twenty to pull this off. Here's what to do right now:
- Call or email one local school or nonprofit today to confirm who you're collecting for and what supplies they actually need. This takes 10 minutes and makes everything else more powerful.
- Set up your RSVP event page using a tool like RSVPlinks so you have a shareable link ready to go before you announce anything. A link people can tap is the difference between "I'll try to make it" and a real commitment.
- Identify your five community connectors — the neighbors, parents, or faith community members who everyone knows and trusts — and personally ask them to share your event. Word-of-mouth from trusted voices fills events faster than any ad.
A box in a corner collects dust. An event collects community. This fall, give the kids in your neighborhood a real reason to be excited about the first day of school — and give yourself the satisfaction of knowing you made it happen.