How to Add a Free RSVP QR Code to Your Halloween Party Invitation
The Halloween Headcount Horror Story Nobody Wants to Live
You spent three weekends turning your backyard into a haunted graveyard. The fog machine is rented. You've got 40 pounds of dry ice on order, a cauldron of mulled cider planned, and a Spotify playlist that's equal parts spooky and danceable. Then, the week before your Halloween party, you realize you have absolutely no idea how many people are actually coming.
Your text thread is a graveyard of read receipts. Half your guests said "sounds fun!" on Instagram. Two people emailed. One person called — called — to say they'd "try to make it." You're staring at your catering estimate wondering whether to order food for 15 people or 50.
This is the Halloween party RSVP nightmare, and it's completely avoidable. The fix? A free RSVP QR code for your Halloween party invitation — a scannable link that takes guests directly to your event page where they can confirm attendance in under 30 seconds. No group chats, no reply-all email chains, no guessing games.
Why QR Code RSVPs Are Perfect for Halloween Parties
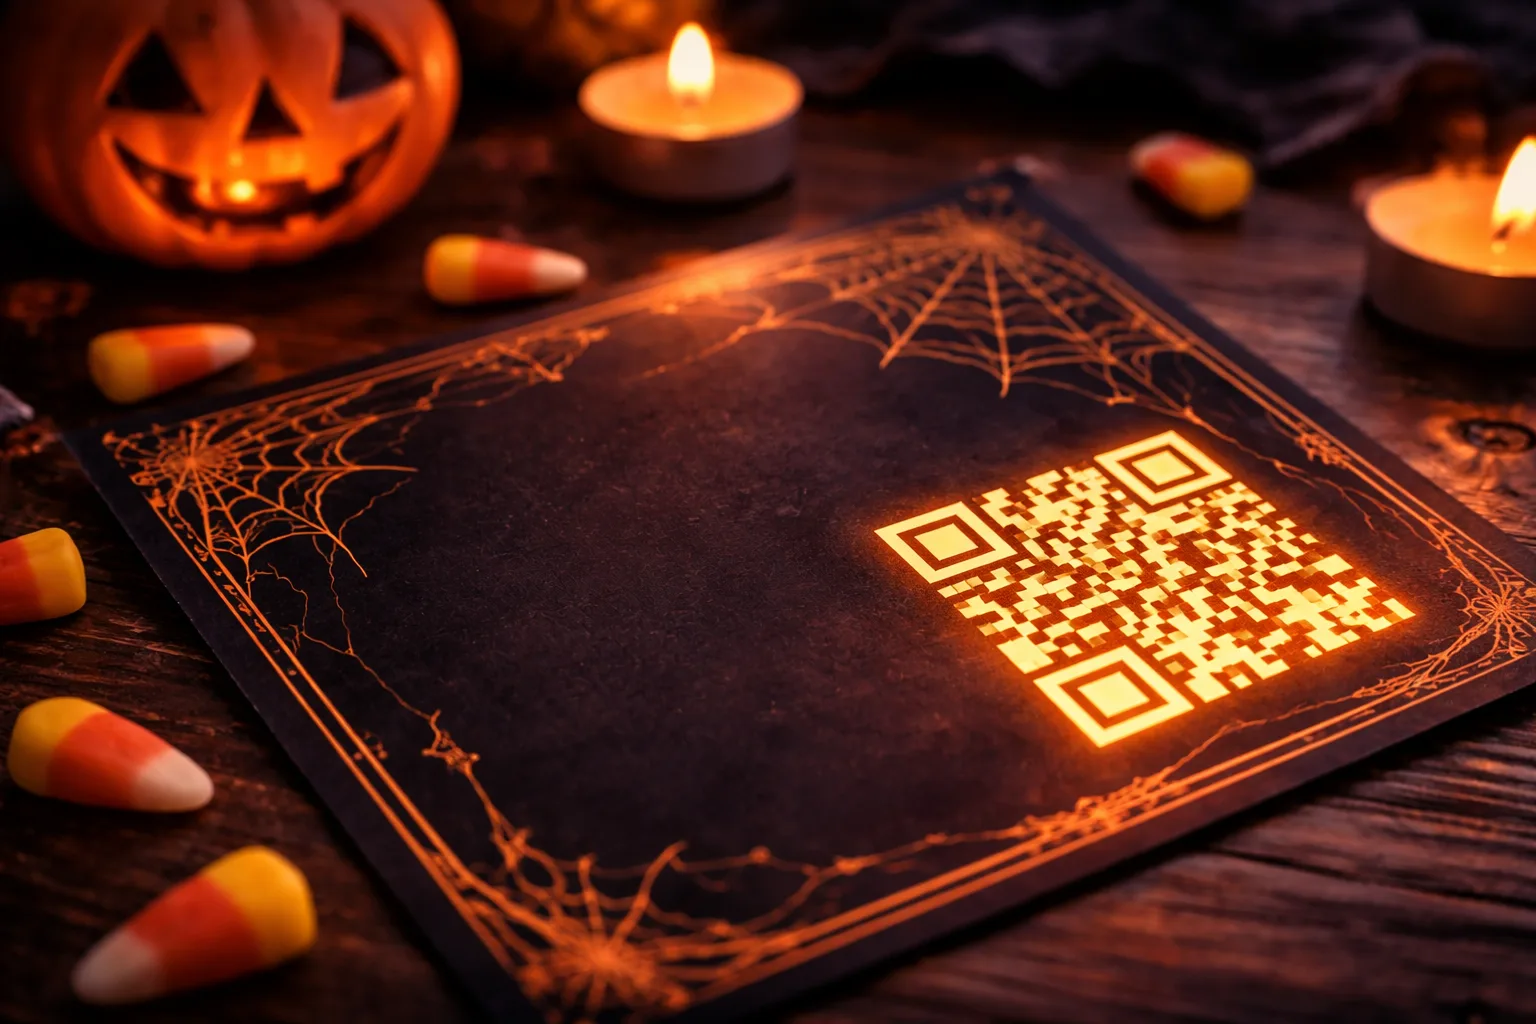
Halloween invitations are unique. They're often elaborate — printed cards with wax seals, custom-designed digital graphics, or even hand-delivered envelopes. A QR code fits seamlessly into all of these formats without cluttering the design. Guests scan it with their phone camera, land on your event page, and RSVP in seconds.
Here's why it works so well for Halloween specifically:
- Physical invitations get a digital upgrade. If you're mailing spooky paper invites, a QR code bridges the gap between your beautiful design and real-time headcount tracking.
- Digital invites become interactive. Drop a QR code image into a Canva graphic or email, and suddenly your invitation does more than look good — it collects data.
- You get a live guest list. Instead of piecing together RSVPs from five different platforms, everything lands in one place.
- Guests love the convenience. One scan, one tap, done. No app download required.
Want to see what a polished Halloween RSVP page looks like before you build your own? Browse the Halloween party RSVP examples gallery to get inspired.
How to Create a Free Halloween Party RSVP QR Code — Step by Step
This entire process takes about 10 minutes. Here's exactly how to do it:
Step 1: Build Your Halloween Event Page
Head to RSVPlinks and create a free RSVP link for your Halloween party. You'll fill in the basics: party name, date, time, location (or "location revealed upon RSVP" if you want to keep it mysterious — very on-brand for Halloween), and any costume requirements or theme details.
Pro tip: Add a custom message in the event description. Something like: "Costumes are mandatory. No costume, no candy. We're serious." This sets expectations and gets guests excited before they even arrive.
Step 2: Copy Your Unique RSVP Link
Once your event page is live, you'll have a unique URL — something like rsvplinks.com/your-party-name. Copy this link. This is what your QR code will point to.
Step 3: Generate Your QR Code for Free
Open any free QR code generator — QR Code Monkey, Canva's built-in QR tool, or Adobe Express all work well. Paste your RSVP link into the URL field and click generate. Download the QR code image as a PNG with a transparent background so it layers cleanly onto your invitation design.
Design tip: Change the QR code color to match your invitation palette. Black on orange, deep purple on black, or blood red on parchment all look stunning and stay scannable. Just make sure there's enough contrast — test it with your phone before finalizing.
Step 4: Add the QR Code to Your Invitation
This step depends on your invitation format:
- Printed invitations: Place the QR code in the lower third of the design, sized at least 1 inch x 1 inch for reliable scanning. Add a one-line label like "Scan to RSVP" in a spooky font.
- Digital invitations (Canva, Photoshop, etc.): Import the QR code PNG as a layer. Position it near the RSVP section of your graphic.
- Email invitations: Insert the QR code as an inline image. Also include the raw RSVP link as a hyperlink below it — some email clients block images, and desktop users can't scan a screen with their phone.
- Social media event graphics: Add the QR code to your Facebook event cover image or Instagram story graphic. Followers can screenshot and scan from their camera roll.
Step 5: Test Everything Before You Send
Before your invitations go out, scan the QR code yourself on two different phones. Confirm it loads your RSVP page correctly, that the event details are accurate, and that the RSVP form actually works. Submit a test RSVP and make sure it appears in your dashboard. This five-minute check prevents a lot of embarrassment later.
Step 6: Send Your Invitations and Watch RSVPs Roll In
Send your invitations 3–4 weeks before Halloween to give guests time to plan their costumes and arrange childcare. As RSVPs come in, you'll see your guest list update in real time — no more chasing down responses from your most elusive friends.
Real-World Example: The "Haunted House" Party That Almost Became a Disaster
Consider this scenario: Priya was hosting a haunted house-themed Halloween party for about 30 people. She sent gorgeous digital invitations through Instagram DMs and a group text. Two days before the party, she had confirmed RSVPs from exactly 11 people. She panicked, ordered food for 20, and ended up with 34 guests showing up — including several people who brought uninvited friends.
The following year, Priya created an RSVP event page, generated a QR code, and embedded it in her invitation graphic. She set the RSVP deadline to October 25th. By October 20th, she had 29 confirmed guests, 4 declines, and 2 maybes. She ordered food for 32, had a perfect party, and didn't spend a single evening stress-texting her friend group.
The difference wasn't the party — it was the system.
Extra Touches That Make Your Halloween RSVP Stand Out
Once you have the basics down, a few small details can elevate your RSVP experience:
- Add a costume field. Ask guests to enter their planned costume when they RSVP. This prevents duplicate costumes and builds anticipation.
- Set an RSVP deadline. "Please RSVP by October 25th" gives you time to finalize food and seating before the 31st.
- Include dietary restriction questions. If you're serving food, knowing about allergies in advance is both practical and considerate.
- Send a reminder. One week before the party, message guests who haven't responded yet. Your RSVP dashboard shows exactly who still needs to reply.
Have questions about how the platform works? Visit the RSVPlinks FAQ page for answers to common setup questions.
Your Three Next Steps — Starting Today
You don't need to wait until October to get organized. Here's what to do right now:
- Create your event page. It takes 5 minutes and it's free. Lock in your party details while they're fresh in your mind.
- Design your invitation. Use Canva or any graphic tool, drop in your QR code, and have your invitation ready to send 3–4 weeks before Halloween.
- Set your RSVP deadline and stick to it. Communicate the deadline clearly on the invitation, and use it to make final decisions on food, seating, and supplies.
Halloween should be scary. Your guest list shouldn't be.
Frequently Asked Questions
How do I create a free RSVP QR code for a Halloween party?
Create a free event page on RSVPlinks, copy your unique RSVP link, then paste it into any free QR code generator like QR Code Monkey or Canva to generate a downloadable QR code image. Add the QR code to your invitation design with a "Scan to RSVP" label. The whole process takes about 10 minutes and costs nothing.
Can I add a QR code to a printed Halloween invitation?
Yes — QR codes work great on printed invitations. Size the QR code at least 1 inch x 1 inch so it scans reliably, and make sure there's strong contrast between the code and the background. Test it with two different phones before sending your invitations to the printer.
When should guests RSVP for a Halloween party?
Set your RSVP deadline 5–7 days before your Halloween party — October 24th or 25th works well for a Halloween 31st event. This gives you enough time to finalize food orders, seating, and party supplies based on your confirmed headcount.
What information should I include on a Halloween party RSVP page?
Include the party date, start and end time, location or address, costume requirements or theme, and any important notes like parking or age restrictions. You can also add optional fields asking guests about their planned costume or dietary restrictions to help with planning.
Do guests need to download an app to RSVP using a QR code?
No — guests just point their phone camera at the QR code, tap the notification that appears, and they're taken directly to your RSVP page in their browser. No app download is required on either end, which makes it fast and frictionless for everyone on your guest list.